HDMI-IN Usage
1. HDMI-IN Introduction
The HDMI IN function can be implemented through a bridge chip that converts HDMI signals to MIPI signals for reception.
The RK3588 has a built-in HDMI RX module that can directly receive HDMI signals without needing a bridge chip.
In the ArmSoM series products, ArmSoM-W3 supports the HDMI-IN function HDMI-IN Function Diagram

Depending on the application scenario, the HDMI RX can adapt to the TIF framework or the Camera framework. Adapting to the TIF framework has lower image transmission delay, while adapting to the Camera framework allows the use of standard Camera APIs, making it easier to develop applications such as video recording and backend algorithm integration.
2. HDMI-IN Driver Code and DTS Configuration
2.1 Driver
kernel/drivers/media/platform/rockchip/hdmirx/*
2.2 Kernel Config Configuration
CONFIG_VIDEO_ROCKCHIP_HDMIRX=y
2.3 DTS Configuration
2.3.1 HDMI RX Controller Configuration
/* Should work with at least 128MB cma reserved above. */
&hdmirx_ctrler {
    status = "okay";

    /* Effective level used to trigger HPD: 0-low, 1-high */
    hpd-trigger-level = <1>;
    hdmirx-det-gpios = <&gpio1 RK_PC6 GPIO_ACTIVE_LOW>;
    pinctrl-names = "default";
    pinctrl-0 = <&hdmim1_rx &hdmirx_det>;
};

&pinctrl {
    hdmirx {
        hdmirx_det: hdmirx-det {
            rockchip,pins = <1 RK_PC6 RK_FUNC_GPIO &pcfg_pull_none>;
        };
    };
}
2.3.2 Reserved Memory
The RK3588 HDMI RX module can only use physically contiguous memory, and at least 128MB of CMA memory needs to be reserved: Note: Calculated based on 3840x2160 resolution, RGB888 image format, and 4 rotating buffers.
/* If hdmirx node is disabled, delete the reserved-memory node here. */
reserved-memory {
    #address-cells = <2>;
    #size-cells = <2>;
    ranges;

    /* Reserve 128MB memory for hdmirx-controller@fdee0000 */
    cma {
        compatible = "shared-dma-pool";
        reusable;
        reg = <0x0 (256 * 0x100000) 0x0 (128 * 0x100000)>;
        linux,cma-default;
    };
};
3. HDMI-IN Debugging
The HDMI-IN device will be registered as a video device in the kernel, generating nodes such as /dev/video20. You can use the v4l2-ctl command to get device information and capture frames.
3.1 View all video nodes
ls /dev/video*
3.2 Find the rk_hdmirx device
Use the v4l2-ctl -d argument to specify the video node, and the -D command to view the node information. Through the Driver name, you can confirm which node is the rk_hdmirx device:
v4l2-ctl -d /dev/video* -D e.g. v4l2-ctl -d /dev/video20 -D
armsom@armsom:~$ v4l2-ctl -d /dev/video20 -D
Driver Info:
        Driver name      : rk_hdmirx
        Card type        : rk_hdmirx
        Bus info         : fdee0000.hdmirx-controller
        Driver version   : 5.10.160
        Capabilities     : 0x84201000
                Video Capture Multiplanar
                Streaming
                Extended Pix Format
                Device Capabilities
        Device Caps      : 0x04201000
                Video Capture Multiplanar
                Streaming
                Extended Pix Format
3.3 Get the resolution information of the external device input
armsom@armsom:~$ v4l2-ctl -d /dev/video20  -V
Format Video Capture Multiplanar:
        Width/Height      : 1920/1080
        Pixel Format      : 'NV24' (Y/CbCr 4:4:4)
        Field             : None
        Number of planes  : 1
        Flags             : 0x00000080
        Colorspace        : Rec. 709
        Transfer Function : Default
        YCbCr/HSV Encoding: xvYCC 709
        Quantization      : Default
        Plane 0           :
           Bytes per Line : 1920
           Size Image     : 6220800
You can see that the input source's pixel format is 'BGR3' at this time. The resolution is 1920 * 1080.
3.4 HDMI-IN Audio and Video Capture
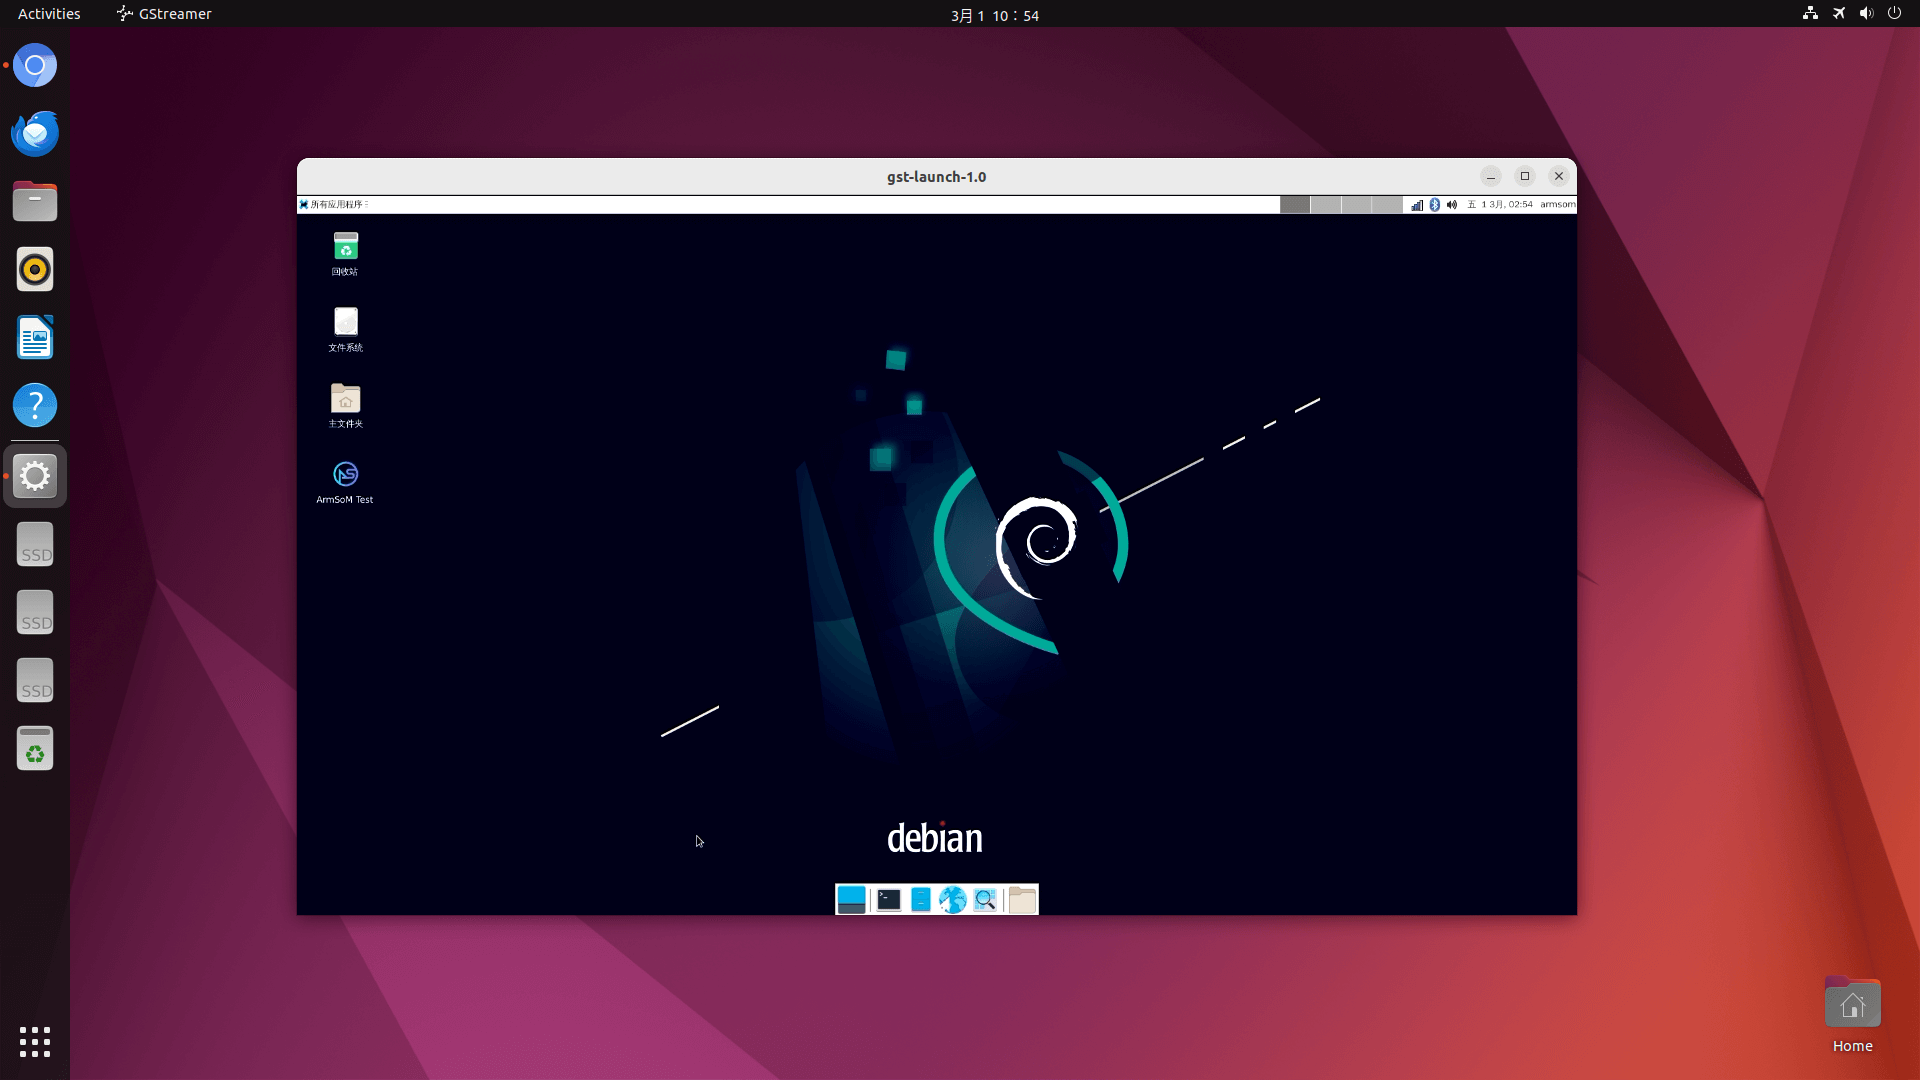
You can use the following script to capture the audio and video input from HDMI-IN:
#!/bin/bash

trap 'onCtrlC' INT
function onCtrlC () {
    echo 'Ctrl+C is captured'
    killall gst-launch-1.0
    exit 0
}

device_id=$(v4l2-ctl --list-devices | grep -A1 hdmirx | grep -v hdmirx | awk -F ' ' '{print $NF}')
v4l2-ctl -d $device_id --set-dv-bt-timings query 2>&1 > /dev/null
width=$(v4l2-ctl -d $device_id --get-dv-timings | grep "Active width" |awk -F ' ' '{print $NF}')
heigh=$(v4l2-ctl -d $device_id --get-dv-timings | grep "Active heigh" |awk -F ' ' '{print $NF}')

es8388_card=$(aplay -l | grep "es8388" | cut -d ':' -f 1 | cut -d ' ' -f 2)
hdmi0_card=$(aplay -l | grep "hdmi0" | cut -d ':' -f 1 | cut -d ' ' -f 2)
hdmi1_card=$(aplay -l | grep "hdmi1" | cut -d ':' -f 1 | cut -d ' ' -f 2)
hdmiin_card=$(arecord -l | grep "hdmiin" | cut -d ":" -f 1 | cut -d ' ' -f 2)

DISPLAY=:0.0 gst-launch-1.0 v4l2src device=${device_id} io-mode=4 ! videoconvert \
    ! video/x-raw,format=NV12,width=${width},height=${heigh} \
    ! videoscale ! video/x-raw,width=1280,height=720 \
    ! autovideosink sync=false 2>&1 > /dev/null &

gst-launch-1.0 alsasrc device=hw:${hdmiin_card},0 ! audioconvert ! audioresample ! queue \
    ! tee name=t ! queue ! alsasink device="hw:${hdmi0_card},0" \
    t. ! queue ! alsasink device="hw:${hdmi1_card},0" &

while true
do
    sleep 10
done
